Changing your CPU retention
mechanism.
Okay Delltalkers. I’m thinking of ordering some of Digikey’s retention mechanisms, but I’m only going to order one kind. …either the Celeron brackets or the Universal Retention Mechanism (URM). The Celeron brackets screw right on the studs in the board, but are a really tight fit for the SECC2 processor. The URM is a lot more work initially, but it’s the correct mechanism for the SECC2 processors. …as well as the SEPP and SECC. It fits them all. Which one would you rather buy? …easy Celeron or correct URM? I can buy 25 of the Celeron brackets for $2.70, and ship them out for about $5.00. The URM ones will cost about $4.00 shipped. To order just the one bracket from Digikey costs about $25 by the time you pay shipping and handling. That’s too much.
So read through this little blurb
and tell me which one would be better.
One other option is to buy the URM with just the holes. You could remove the
captive nuts from the Dell bracket and use them on the new URM and screw it
down to the studs without removing the motherboard from the case. The nuts just slide out the side of the
bracket. The only thing is, the nuts
will not be captive on Digikey’s URM, and might be a real pain in the rear to
get installed.
So you’ve bought your new processor and discovered that it doesn’t latch into the brackets properly. There are a couple of ways around it. One is to use the Zip tie method and zip tie your CPU in the bracket. Another way is to order the Celeron retention mechanism from Digikey, part number A15108-ND. This bracket will screw right on to the studs in your Dell motherboard. I understand it is a very tight fit for the new processor, and may be difficult to install the processor and get it latched in. Intel says the Celeron retention mechanism is SECC2 compliant. The third method is to order the Universal Retention Mechanism from the same Digikey catalog page, part number A15115-ND. To use the Celeron bracket, you just unscrew the old bracket and screw down the new bracket onto the studs. If you want to use the URM, you’ll need to remove the motherboard and take the studs out from the back side. Here are some pictures so you can see how.
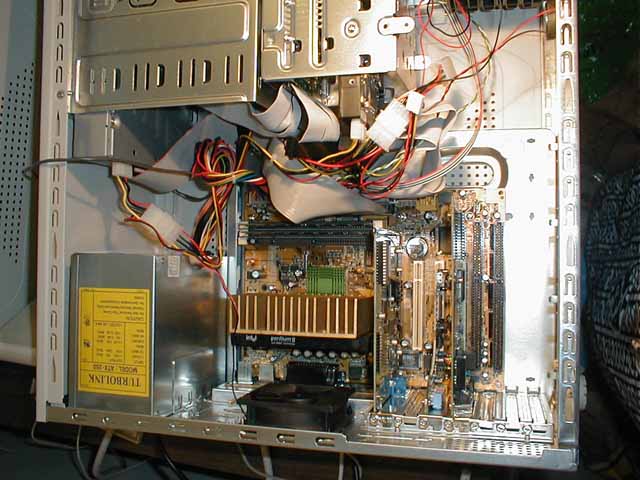
First off, lay the case on its side and remove the cover. Here’s a picture if you want to see it. This is not a Dell case, by the way, but it is a PII 400 processor from a Dimension R.
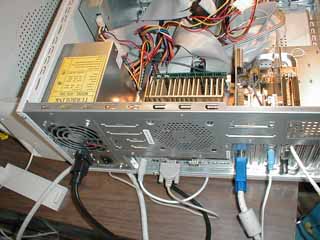
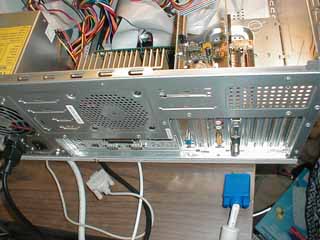
Next, unplug all the stuff from the back except the power cable. Leave the power cable plugged in for grounding purposes and turn off the power at your surge suppressor. You DO use a surge suppressor, don’t you? Here’s a picture before and after.
Then, remove the CPU from the computer. You can see the latches here.
Push them toward the center to unlatch them. They will click and stay.
Remove the CPU by pulling it up. It might take some pretty good force.
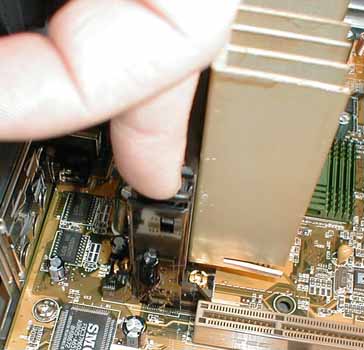
Unscrew the bracket and take it out. You can use a phillips or common screwdriver.
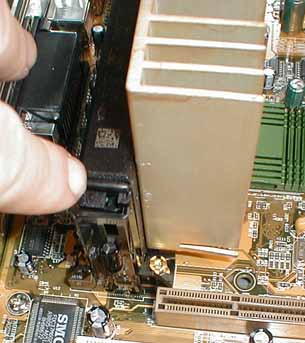
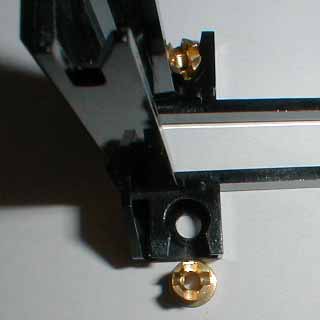
This is the bracket. The brass nuts stay attached.
The nuts slide out to the side if you want to remove them.
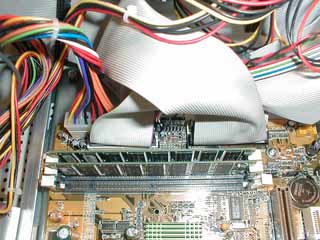
Once you get that done, you will need to remove the connections to the drives and the power supply. Be sure to note the orientation of the cables. There is a red wire on one end, which goes to circuit number one. You’ll need to be sure to get it back on the same way it came off. Newer motherboards are keyed so the cables will only go on one way, but you should make a note of the orientation just in case. Also, be sure to get the cables back into the same slot they came out of.
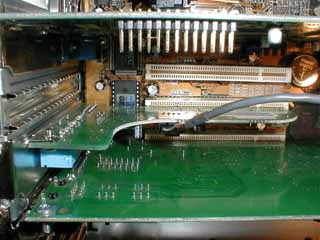
Next, remove the add-in cards. Be sure you get them back in the same slots you take them out of or you’ll freak Windoze out and have to re-install all the drivers. You can remove the CD-ROM sound cable if you like or leave it attached and lay the card out of the way. If you remove it, be sure to note the orientation or you might mix up the left and right channels.
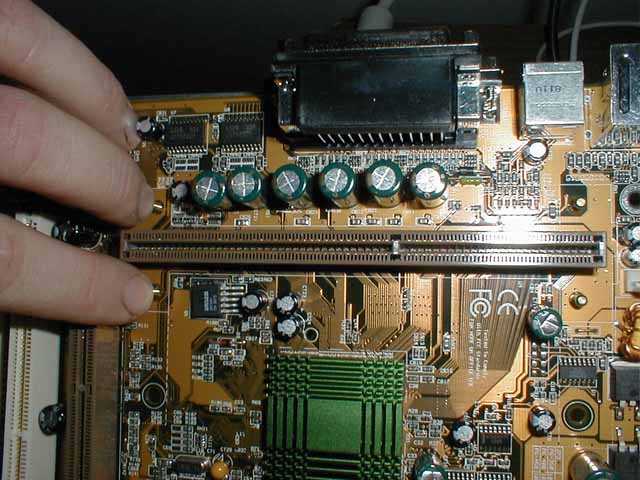
After you get the CPU, cards, and cables off, it looks like this. You can see the front panel connections here on a standard ATX board, still attached. Your Dell has a ribbon connector you can just unplug. It should be keyed to fit only one way.
![]()
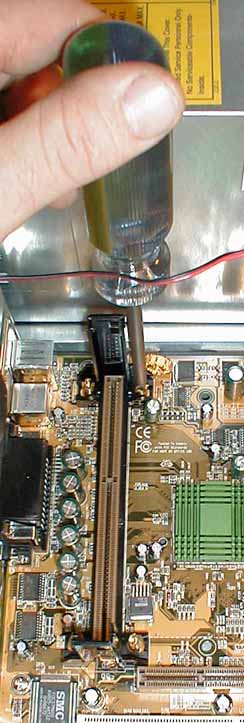
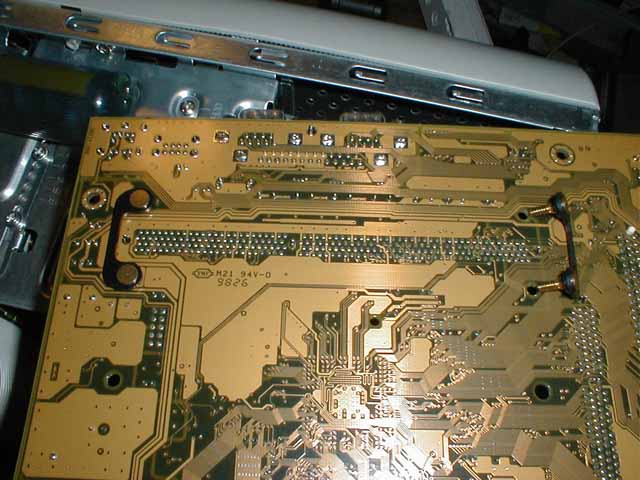
Now unscrew the screws holding the motherboard down. There may be plastic clips instead of screws. Once you get them out, you can remove the studs by pushing them through the back.
The back of the studs look like this. The one on the right has been removed (obviously).
Now, turn the board back over, and put the whole thing back together. Install your new brackets in the holes, install the processor, and all the rest of the stuff and you’re all done.