 |
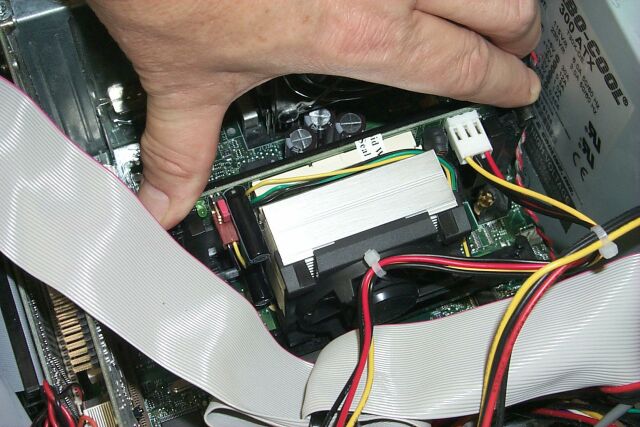
Here's the PL-iP3/T with the power lead attached to the connector on the adapter board. Note the double connector, with both "male" and "female" ends. If you have a spare power lead in your PC, you just need to plug it into the female connection. But if your power leads are all in use, just pull one out of it's existing device and attach it to the female connector. The male end then goes into the device you just disconnected.
 |
Align the iP3/T with the slot guides and get the edge connector started in the mobo CPU slot. Then push firmly STRAIGHT DOWN. Again, a bit of gentle end-to-end rocking will facilitate full seating in a tight slot. For the slot guides used in my XPS-R, the locking ears at either end of the top of the PowerLeap module fit perfectly, and popping them outward locked the rig into the slot nicely.
Such was NOT the case on my AX6BC system (not shown), which used a different slot guide design. But the PowerLeap rig fit tightly enough that retention didn't appear to be a concern.
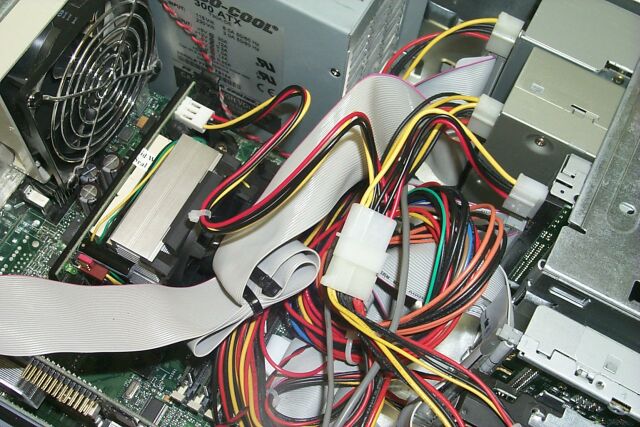 |
This photo shows the iP3/T now fully installed and ready for power-up. Note that I have used the "daisy chain" connection method here, connecting the female end of the double-ended connector to a system power lead and the male end to my internal ZIP drive. Okey-doke, ready to hit the power button!!
Click on "NEXT" to go to the benchmarks!!
 |
 |